Presentation Options
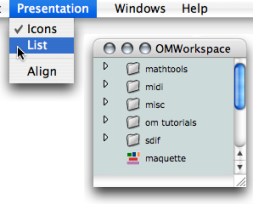
List or Icon modes
In the workspace, items can be displayed in Icon or List mode. The Icon mode is the default mode of OM.
Presentation modes are accessed via the main menu, or the contextual menu with a
|  |
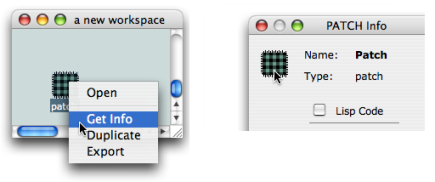
Changing the Icon of an Item
Icons of patches and maquettes can be modified from the workspace.
-
Open the
Infowindow :-
Ctrl/ right click on the item and chooseGet Info. - Press
Cmd+i.
-
-
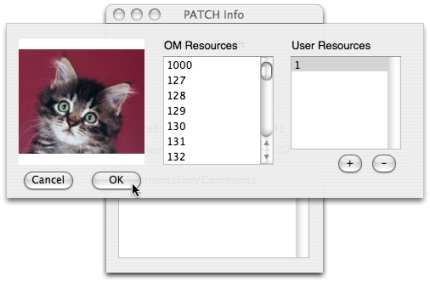
Double click on the upper left corner icon of the
Infowindow to open the Picture Chooser.
Select an icon or an image in the Resources frame, or in the User Resources frame.
-
Click on
+. -
Browse the content of you hard drive, select a resource and choose
OK.
The icon is stored in the Workspace / Resources / Icon sub folder.
Choose OK to validate your choice, or Cancel.
The new icon is displayed in the workspace and in the | 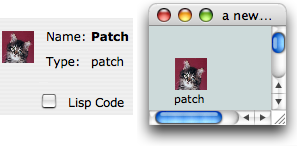 |
Icons of factory boxes and functions cannot be modified.
If a resource can't be used, identified or found, probably for format, location or identity reasons, the ![]() default icon or the
default icon or the ![]() image is attributed to the item.
image is attributed to the item.
User Resources : Adding and Deleting a Resource
You can add an icon or an image to the User Resources.
| 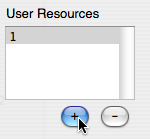 |
Select a resource :
-
Browse your hard drive to select a file.
-
Choose
OpenandOKin the dialogue window.Choose
Cancelto cancel your choice.

To delete a picture or icon from the User Resources, choose -.
