Picture
 | The picture box is used for representing and using pictures in a patch. It allows to create simple graphics in OM patches. It can be edited an added figures and sketches. It has one input and one output :
|
To add a
picture
box into a patch, select Classes / Interface Boxes / Picture.
Initializing the Picture Box
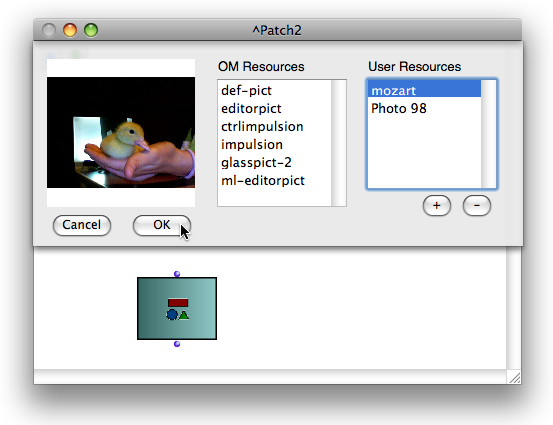
To add a picture in the picture box, follow the procedure described in the Resources section.
-
Evaluate the box : a dialogue window opens, so that the picture box can be initialized with a picture file.
-
Choose a picture in one of the Resources frames.
Pictures can possibly be added or deleted via the
+and-buttons of the User Resources frame. -
Choose
Cancelto cancel your choice orOKto validate your choice. -
Lock the box in order to preserve the chosen pictures at the next evaluation.
Select the box and press | 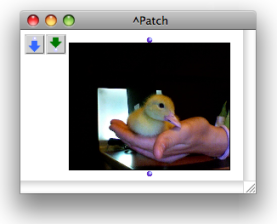 |
To load or remove a background picture in the object editor, go to | 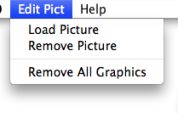 |
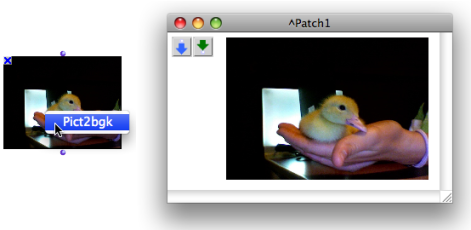
Background Pictured and Graphics
Using the graphics of a picture box as a background picture is very convenient to document or augment your patches with additional information – arrows, rectangles, etc.
To turn a picture box into the background picture of a patch :
-
Ctrl/ right click on the picture box, -
choose
Pict2bgkin the contextual menu.
The background picture fits the current size of the box.
Background pictures can also be turned into boxes.
This is a convenient way for modifying and resizing a picture. | 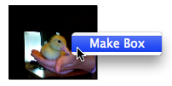 |
